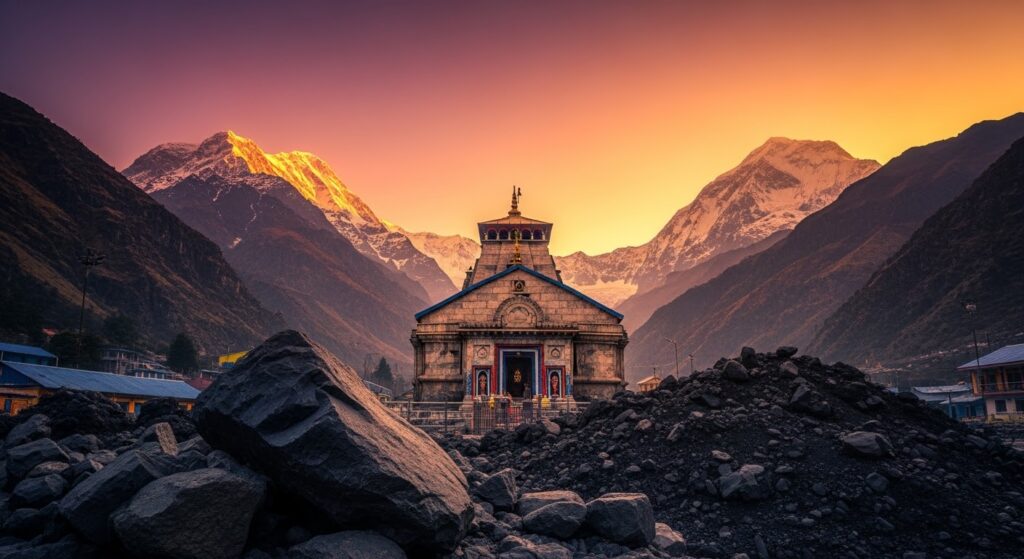
**What happens when the last warm rays of sunlight strike the snow-covered peaks above Kedarnath while mountain mist moves across the valley?**
For a few precious minutes, the landscape can appear almost unreal.
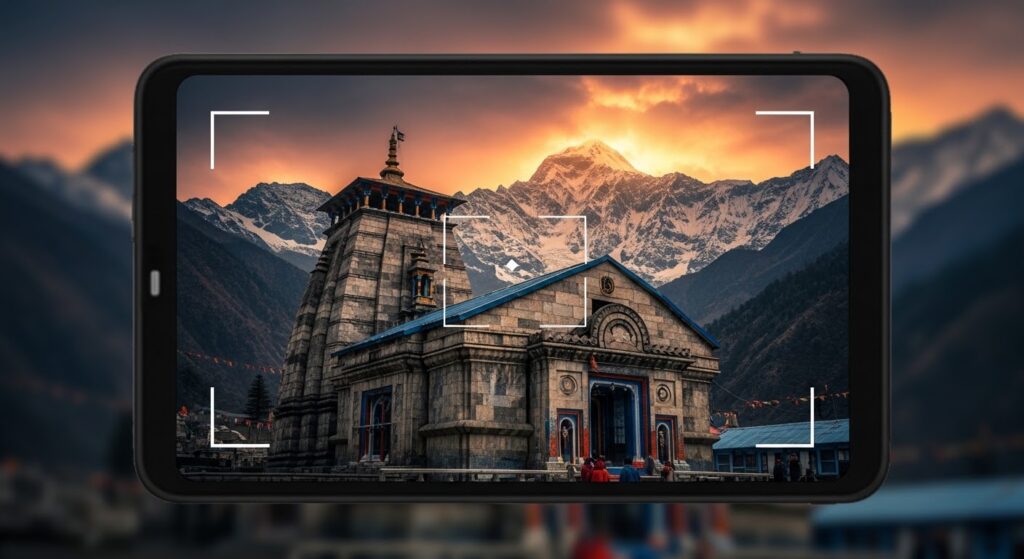
- The ancient stone temple catches the warm glow.
- The surrounding mountains turn shades of gold, orange and blue.
- Mist drifts through the valley.
And suddenly, a familiar pilgrimage destination becomes a cinematic landscape.
But capturing that moment isn’t simply about pointing a camera at the mountains.
At high altitude, light changes rapidly, weather can shift within minutes and the contrast between a brightly illuminated mountain and a dark foreground can challenge even experienced photographers.
The secret is to prepare before the golden hour begins.
Why Kedarnath Is a Photographer's Dream
Kedarnath offers something that many Himalayan destinations lack: **scale combined with a powerful architectural foreground.**
- The temple provides an unmistakable human element.
- Behind it rises an enormous Himalayan landscape.
- That creates a natural visual relationship:
**Human architecture → valley → mountain → sky.**
The result can communicate the enormous scale of the Himalayas far better than a mountain photograph alone.
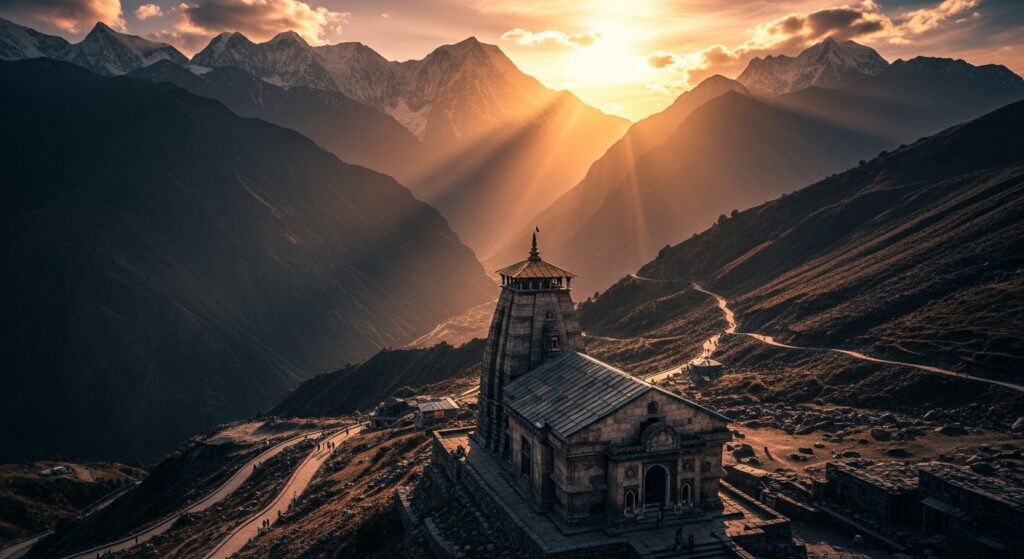
The ancient stone construction of the temple also responds beautifully to low-angle sunlight.
When warm light strikes the stone surface, textures that appear flat during midday can suddenly become dramatic.
First Rule: Golden Hour Is Not One Exact Moment
Photographers often think of golden hour as a fixed period.
In the mountains, it is more complicated.
The actual quality of light depends on:
- season
- cloud cover
- mountain orientation
- altitude
- atmospheric moisture
- surrounding peaks
- sunrise or sunset position
At Kedarnath, surrounding mountains can block direct sunlight long before the sun actually sets.
Therefore, don’t simply rely on a generic “sunset time.”
Use a reliable weather and sun-position app to understand when the mountains around your shooting location are likely to receive direct or reflected light.
And arrive early.
**The best photograph may happen before you think golden hour has started.**
The Challenge of Himalayan Mist
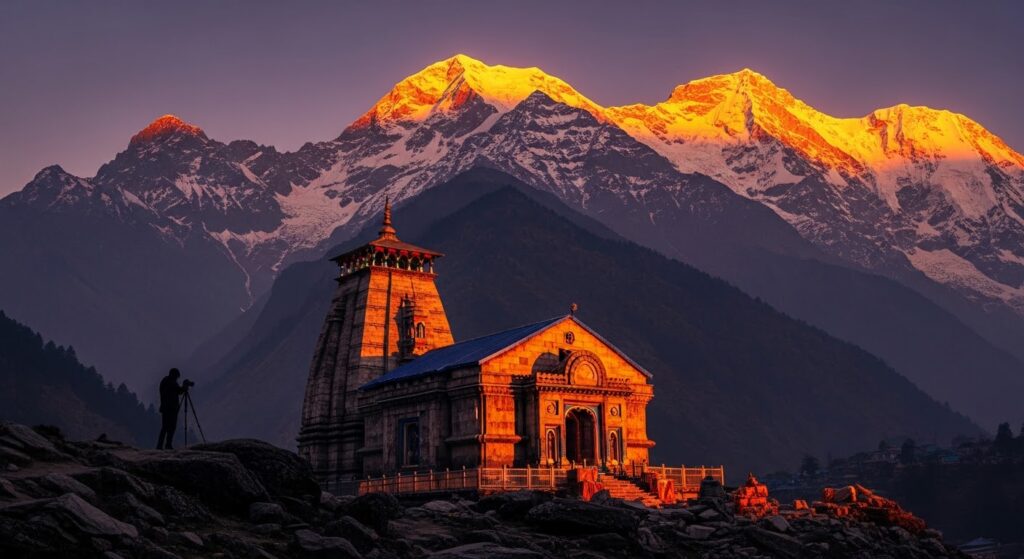
Mist is one of the most beautiful—and frustrating—elements of Kedarnath photography.
- One moment, the peaks are completely visible.
- A few minutes later, clouds can cover them.
- But don’t automatically consider mist a problem.
- Used correctly, it can become part of the composition.
Instead of trying to remove every cloud from your photograph, look for moments when the mist creates layers.
For example:
**Temple → mist → mountain → sky**
This creates depth.
The mountain doesn’t need to be completely visible to feel enormous.
Sometimes revealing only part of a peak makes the photograph more mysterious.
Choosing the Right Lens
You don’t need a huge collection of lenses for Kedarnath.
A lightweight kit is usually better because the altitude and trek can make carrying heavy equipment exhausting.
A practical combination might be:
Wide-angle lens
Ideal for:
- temple + mountain compositions
- dramatic skies
- foreground textures
- expansive landscapes
A lens around **16–35mm on full-frame** can be extremely versatile.
Standard zoom
Something around **24–70mm** is useful for:
- environmental portraits
- temple details
- medium landscapes
- compressed compositions
Telephoto
A lens around **70–200mm** can isolate:
- mountain ridges
- temple details
- distant snowfields
- layers of mist
But don’t feel obligated to carry all three.
For a physically demanding Kedarnath shoot, a **wide-angle + standard zoom** can be more than enough.
Use the Temple as Your Scale Reference
One of the most important composition techniques is giving the viewer something familiar.
A mountain by itself can look impressive.
But the human brain doesn’t always understand its scale.
Place the Kedarnath temple in the foreground or middle ground and the mountains immediately appear enormous.
Try compositions such as:
Temple in lower third + mountains dominating upper two-thirds
or:
Temple slightly off-centre + mountain peak occupying the opposite side of the frame.
- This creates visual tension.
- The viewer first recognizes the temple.
- Then the eye travels upward.
- And suddenly the size of the Himalayas becomes apparent.
Look for Leading Lines
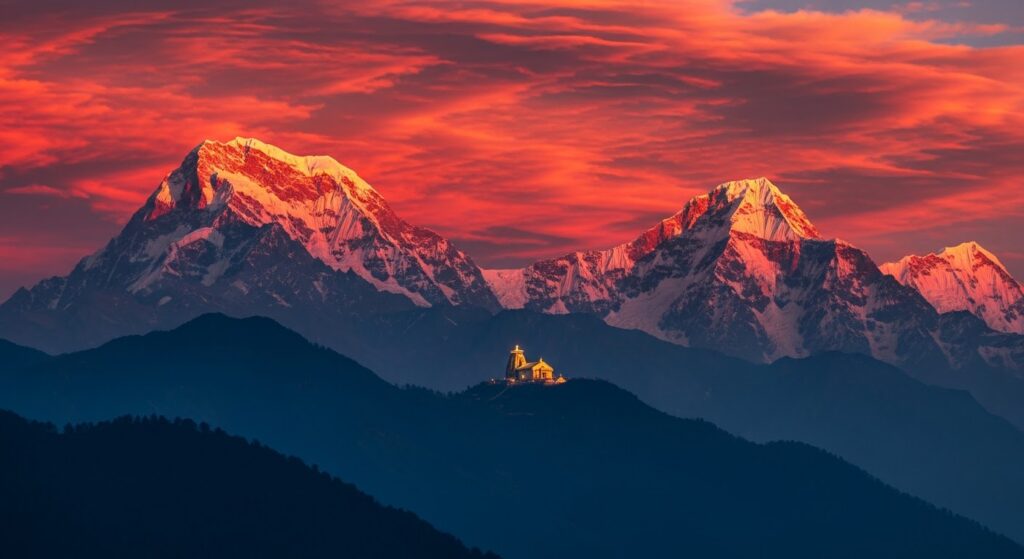
Mountains naturally create diagonal lines.
But you can strengthen the composition by finding additional lines in the environment.
These could include:
- pathways
- stone walls
- river channels
- trekking routes
- fences
- architectural edges
- ridgelines
A leading line should guide the viewer’s eye toward the main subject.
If a river or trail visually points toward the mountain, position yourself so that it becomes part of the composition rather than simply appearing as background scenery.
The 1/4 to 2-Second Shutter-Speed Question
Your proposed shutter-speed range of **¼ to 2 seconds** can work beautifully for moving mist—but it isn’t a universal setting.
The correct shutter speed depends on how fast the mist is moving and how much ambient light is available.
Around 1/4 second
Can preserve some detail while showing subtle movement.
Around 1 second
Creates more visible atmospheric motion.
Around 2 seconds
Can produce a much smoother, dreamier appearance.
But there’s an important problem:
**A long exposure can destroy sharpness in the temple or other stationary details if the camera moves.**
Use a tripod whenever practical.
And remember that wind can also move vegetation or prayer flags during a long exposure.
What About Handheld Shooting?
If you don’t have a tripod, don’t automatically abandon the shot.
Modern cameras often have excellent stabilization.
Increase your shutter speed enough to maintain sharpness.
A practical starting point for handheld landscape work might be around:
**1/125–1/250 second**
and then adjust ISO and aperture according to available light.
The priority becomes:
sharp photograph first, artistic motion second.
A blurry golden-hour photograph cannot be rescued by editing.
Aperture: Don't Always Shoot at f/16
Landscape photography often creates the assumption that you should always use a very small aperture.
That’s not necessarily true.
A range around:
f/5.6–f/11
can provide excellent results depending on the lens and composition.
If the foreground, temple and mountains are at very different distances, focus carefully.
For a static scene, you can also use focus stacking if your workflow allows it.
Don’t choose f/16 automatically just because you’re shooting a landscape.
Very small apertures can introduce diffraction and reduce fine detail.
ISO: Protect the Shadows
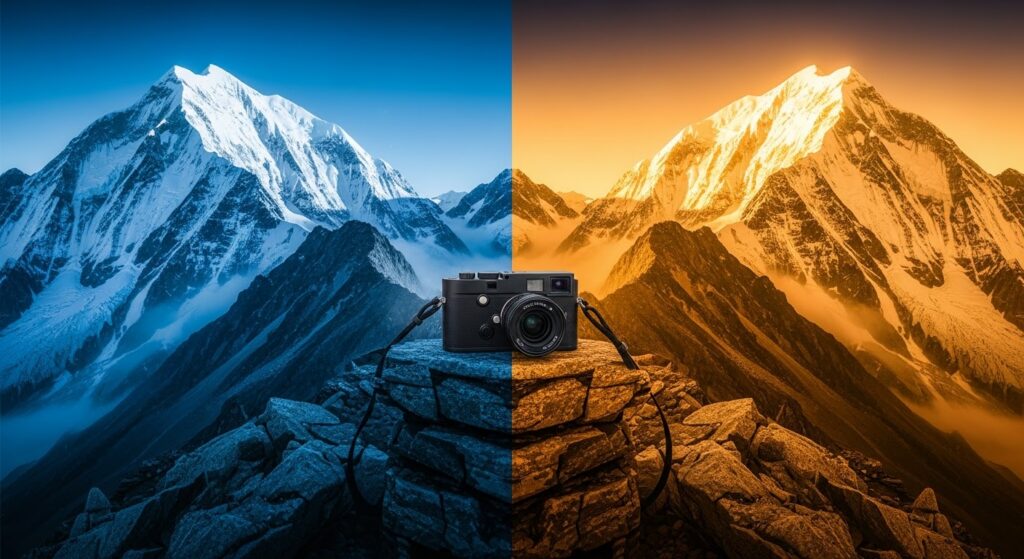
Golden hour creates a difficult exposure problem.
The sky can remain relatively bright while the stone temple becomes much darker.
- If you expose for the temple, the sky may become too bright.
- If you expose for the sky, the temple may become nearly black.
- This is where modern RAW files become valuable.
A practical approach is to keep ISO as low as reasonably possible and expose carefully to protect highlights.
For many cameras:
ISO 100–400
will be a useful starting range during relatively bright golden-hour conditions.
As the light disappears, increasing ISO may be preferable to using an excessively slow shutter speed without a tripod.
Don't Chase the Perfectly Bright Temple
This is an important artistic decision.
You don’t necessarily need every part of the temple to be perfectly illuminated.
A slightly darker temple against a glowing Himalayan sky can create atmosphere.
The goal isn’t to produce a technically flat image where every pixel has equal brightness.
The goal is to create **visual hierarchy**.
Ask:
- What should the viewer notice first?
- If the answer is the temple, expose and compose accordingly.
- If the answer is the mountain, let the temple become a darker architectural anchor.
Managing Extreme Dynamic Range
Kedarnath’s golden hour can produce significant contrast.
You have several options.
- Bracketing:- Take multiple exposures at different shutter speeds and combine them later if appropriate.
- Graduated ND filter:- Useful when the sky is significantly brighter than the landscape.
- Exposure blending:- Combine carefully exposed frames in post-processing.
- Modern RAW recovery:- Many cameras can recover substantial shadow and highlight information from RAW files.
The important principle is:
**Don’t destroy highlight detail just to brighten the shadows.**
A completely clipped sky cannot be recovered.
Watch Your Histogram
Don’t judge exposure only from the camera’s rear screen.
The bright Himalayan environment can make an image appear darker or brighter than it really is.
Use your histogram.
Look for excessive clipping on the right-hand side.
If the brightest areas of the sky or snow are completely blown out, reduce exposure.
You can often lift darker temple shadows later from the RAW file.
The Snow Is a Trap
Fresh snow can be spectacular during golden hour.
But snow is extremely reflective.
A small exposure mistake can turn beautiful golden highlights into featureless white areas.
Watch the brightest sections of:
- snow-covered peaks
- clouds
- reflective surfaces
Expose carefully.
- Your objective is to retain texture.
Shoot RAW
If you are serious about creating professional Himalayan landscapes, shoot RAW whenever possible.
RAW gives you greater flexibility to adjust:
- highlights
- shadows
- white balance
- exposure
- colour
- contrast
This becomes particularly important when dealing with the extreme contrast of mountain landscapes.
JPEG can still be useful for quick sharing.
But for your hero photographs, RAW provides far more flexibility.
Don't Forget Vertical Frames
Landscape photographers often think horizontally.
But Kedarnath is also perfect for vertical compositions.
A vertical frame can include:
Temple → mountain → enormous sky
and work particularly well for:
- YouTube thumbnails
- travel articles
- posters
- phone screens
Capture both orientations whenever the light is changing quickly.
You may not get another opportunity.
The Best Photograph May Not Be the Obvious One
Everyone photographs the temple.
Millions of photographs already exist.
Your objective isn’t necessarily to create another postcard.
Look for smaller stories.
For example:
- warm light on ancient stone
- a prayer flag moving in the wind
- a pilgrim silhouetted against the mountains
- mist passing behind the temple
- footprints in fresh snow
- a lone figure walking toward the shrine
- sunlight touching only one mountain ridge
These details can make your visual story more personal.
Use People to Show Scale
A tiny human figure against a gigantic Himalayan landscape can create an extraordinary sense of scale.
But ask permission before deliberately photographing identifiable individuals as your subject.
If someone is simply part of the wider scene, compose respectfully without intruding on private moments.
The person doesn’t need to dominate the photograph.
Sometimes a tiny silhouette is enough.
Post-Processing: Don't Overdo the Himalayan Look
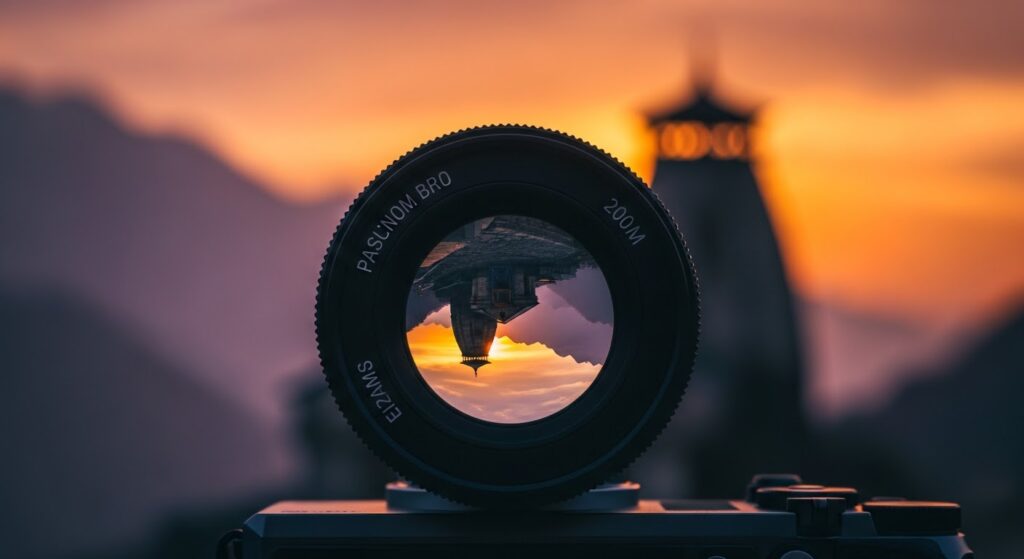
There is a temptation to make mountain photographs extremely saturated.
- Orange mountains.
- Deep blue skies.
- Dark shadows.
- Exaggerated clarity.
It may look impressive on a phone for five seconds.
But it can quickly become artificial.
Instead, aim for:
natural colour + controlled contrast + preserved highlights + atmospheric depth.
If the actual scene was soft and misty, let the photograph remain soft and misty.
The Orange-and-Blue Trap
Golden-hour photographs naturally contain warm sunlight and cool shadows.
That creates a beautiful complementary colour relationship.
But don’t force an extreme orange-and-teal grade.
Use colour selectively.
Warm:
- sunlight
- temple stone
- illuminated peaks
Keep cooler:
- shadows
- distant mountains
- atmospheric haze
The result should feel like the actual Himalayas—not a movie poster.
Local Adjustments Are Your Friend
Instead of globally increasing saturation and contrast, use local adjustments.
You might:
- slightly brighten the temple
- recover mountain highlights
- add subtle contrast to stone textures
- reduce distracting brightness in the sky
- enhance mist separation
- maintain natural shadow detail
This creates a much more sophisticated result.
The Photograph Should Still Feel Silent
Perhaps the most important creative principle is the simplest.
Kedarnath isn’t merely a spectacular mountain location.
It is a sacred pilgrimage destination.
The best photograph doesn’t necessarily need to scream:
LOOK HOW EPIC THIS IS!
Sometimes the most powerful image is quiet.
- A small temple.
- A huge mountain.
- A thin layer of mist.
- A little golden light.
- And almost nothing else.
That visual restraint can communicate the atmosphere of Kedarnath far more effectively than aggressive editing.
A Practical Kedarnath Golden-Hour Workflow
Before golden hour
Arrive at your chosen location early.
- Check the direction of light.
- Clean your lens.
- Prepare your tripod
- Set your camera to RAW.
- Check your battery.
- Check your histogram settings.
Compose before the light becomes dramatic.
As the light changes
- Start with a relatively safe exposure.
- Watch the highlights.
- Take several compositions.
- Shoot both horizontal and vertical.
- Experiment with shutter speed if mist is moving.
- Don’t wait until the final minute to begin shooting.
During the final glow
- Look for the brief moments when:
- the temple catches warm light
- the mountain peaks remain visible
- mist creates separation
- the sky retains colour
This may be your hero shot.
A Suggested Starting Settings Cheat Sheet
These aren’t fixed rules. Use them as starting points and adjust according to your camera and conditions.
| Situation | Starting Point |
| ————————- | ——————- |
| Bright golden hour | ISO 100–200 |
| Fading light | ISO 200–800+ |
| Static landscape + tripod | 1/4–2 sec |
| Handheld landscape | 1/125 sec or faster |
| Moving mist | 1/4–2 sec |
| General landscape | f/5.6–f/11 |
| Fast-moving clouds | Faster shutter |
| Very dark conditions | Higher ISO / tripod |
The exact exposure will depend heavily on weather, lens, camera sensor and available light.
The Golden Hour Is Only Part of the Story
- Kedarnath’s landscape changes constantly.
- Morning can offer crisp mountain air.
- Afternoon can bring dramatic clouds.
- Late evening can produce warm light.
After rain, the atmosphere can become extraordinarily clear—or completely disappear into mist.
Don’t build your entire photography trip around one predicted sunset.
Give yourself multiple opportunities.
- The Himalayas are not a studio.
- You cannot control the light.
- You can only be ready when the mountain decides to reveal itself.
Photograph the Moment, Not Just the Landmark
- The Kedarnath temple has been photographed countless times.
- What hasn’t been photographed is **your exact experience of seeing it.**
- Perhaps it is the first ray of sunlight touching the stone.
- Perhaps it is a pilgrim standing silently before the mountains.
- Perhaps it is mist swallowing half the valley.
Perhaps it is the moment the clouds suddenly open and reveal a snow-covered peak.
- That’s where the real photograph exists.
- Technical knowledge helps you capture it.
- But observation helps you find it.
The Final Frame
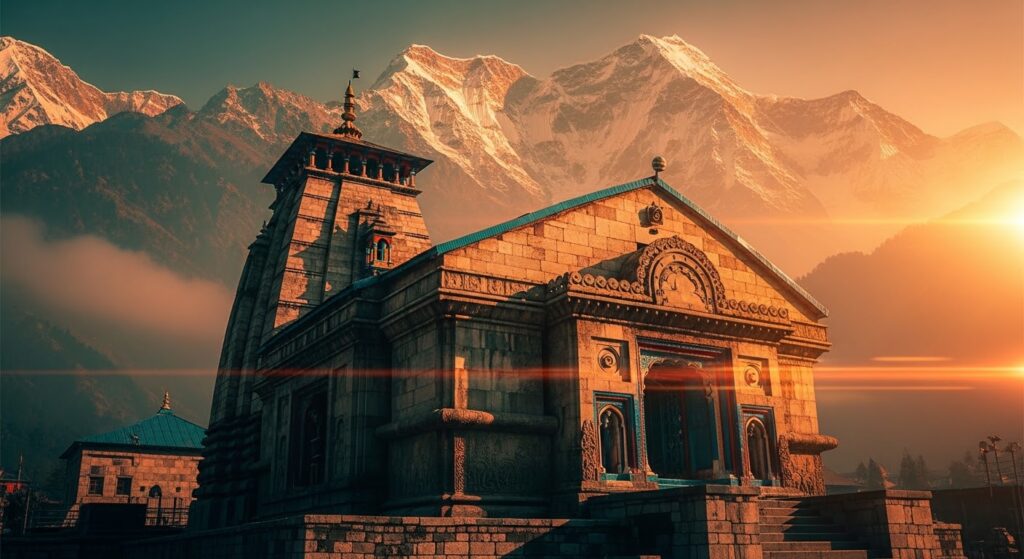
As the last light disappears behind the mountains, the golden tones slowly fade.
The temple becomes darker.
The peaks turn blue.
Mist begins to merge with the shadows.
And the extraordinary landscape that existed for only a few minutes disappears.
That’s what makes golden hour in Kedarnath so special.
You cannot stop it.
You cannot recreate it exactly.
You can only anticipate it, compose it and press the shutter at the right moment.
**The best Himalayan photograph isn’t necessarily the sharpest, brightest or most dramatic image.**
It is the one that makes someone looking at it feel, even for a few seconds, that they are standing there with you—watching the last light disappear over Kedarnath.